
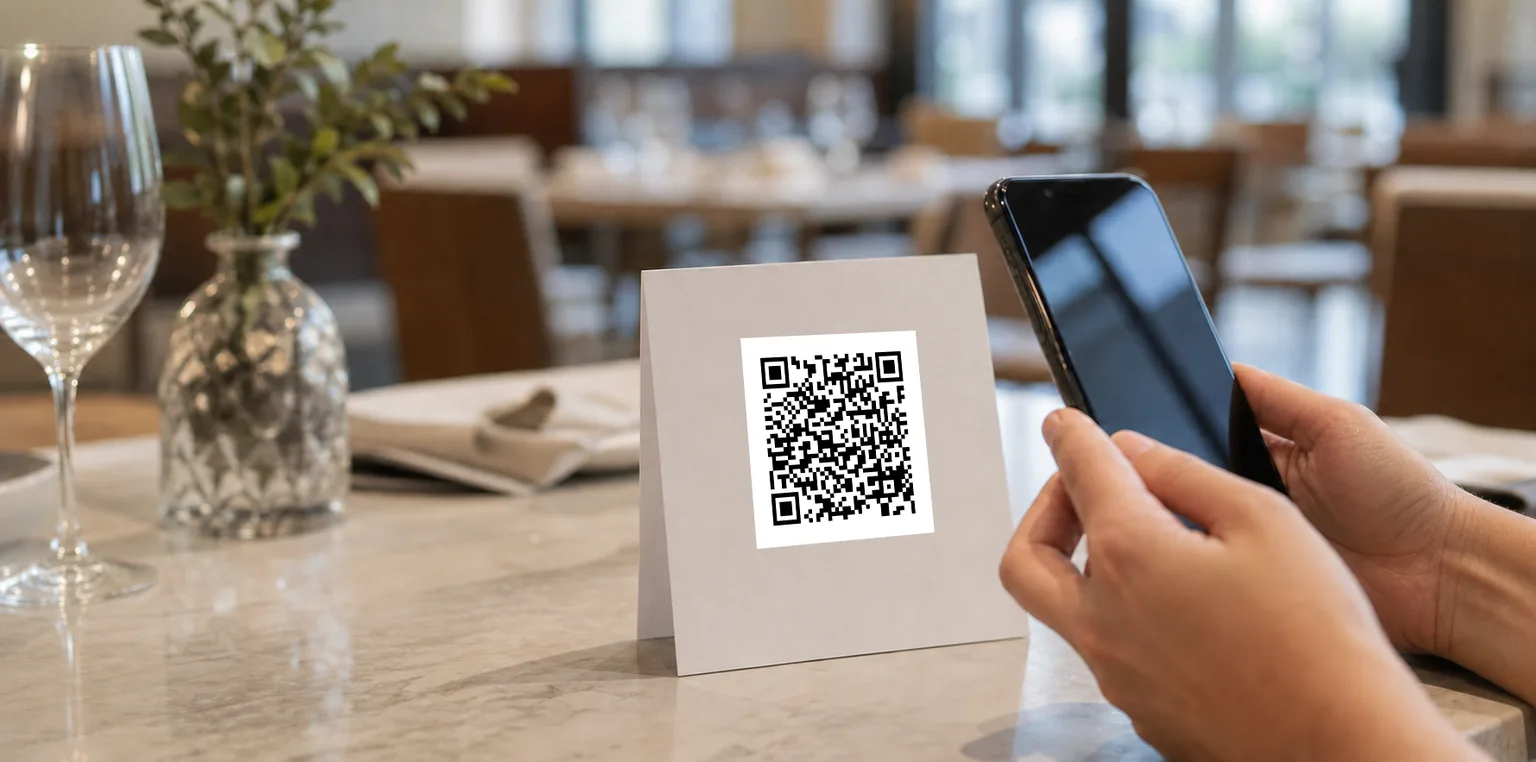
The right QR code size is not one magic number. A short URL on a table card and a dense code on a lobby window can have the same outer dimensions while behaving very differently.
As a practical starting point, make the QR code about one-tenth of the expected scan distance. Then increase it if the payload, printer, logo, or placement needs more room.
The QR code print size calculator checks the size in inches or centimeters, generates the code, and offers SVG or PNG downloads. Reviato processes submitted content only for generation; it is filtered from application logs and is not stored or cached.
Quick QR code size reference
These are practical starting points, not guarantees. Use the larger end of a range when the code will sit behind glass, curve around packaging, face uneven lighting, or be scanned while someone is moving.
Scroll to see more columns.
| Use | Typical scan distance | Practical starting size |
|---|---|---|
| Business card or receipt | 8–12 in / 20–30 cm | 1–1.2 in / 2.5–3 cm |
| Menu or table card | 12–24 in / 30–60 cm | 1.6–2.4 in / 4–6 cm |
| Product packaging | 8–16 in / 20–40 cm | 1.2–1.6 in / 3–4 cm |
| Counter or front-desk sign | 2–4 ft / 0.6–1.2 m | 3–5 in / 8–12 cm |
| Window or door display | 3–7 ft / 1–2 m | 6–10 in / 15–25 cm |
| Poster | 2–6 ft / 0.6–1.8 m | 4–9 in / 10–23 cm |
For a first estimate, many print guides use a 10:1 ratio: divide the expected scan distance by 10 to get the QR code width. A scan from 2 feet, or 24 inches, starts at roughly 2.4 inches. That rule is useful, but it does not account for how dense the code is or how cleanly it will print.
Why scan distance is only the first check
A QR code is a grid of small squares called modules. More content usually needs more modules. Stronger error correction can also increase the version required for the same content.
That means two codes printed at 2 inches wide may not be equally easy to scan. The code with more modules gives each module less physical space. Once those squares become too small for the printer or camera to resolve cleanly, the generous outer size stops helping.
The safest workflow is:
- Work out the QR version from the actual URL or text and error correction level.
- Count the symbol modules and the quiet zone.
- Check that the printer can render each module cleanly.
- Compare the result with the expected scan distance.
- Add a practical margin, then test the final printed piece.
QR versions and module count
Standard QR codes run from version 1 to version 40. Version 1 has 21 modules on each side. Every step adds four modules, so the symbol width is:
21 + 4 × (version − 1)
A version 3 code has 29 modules before its quiet zone. A version 10 code has 57. If both are printed at the same width, the version 10 modules are much smaller.
Shortening a long tracking URL can sometimes reduce the QR version. Do not shorten it blindly, though. The destination should still be trustworthy, stable, and easy to recognize when you provide a fallback link.
Leave the four-module quiet zone clear
The quiet zone is the blank border around the code. DENSO WAVE specifies a margin four modules wide on every side. It is part of the usable QR area, not spare space for a border, label, logo, or background pattern.
For a 29-module symbol, the full area is 37 modules wide once the quiet zone is included: 29 for the code plus four on the left and four on the right.
Keep that area plain and high contrast. A decorative frame that touches the modules can make a correctly sized code unreliable.
Check printer resolution, not just inches
DENSO recommends using at least four printer dots for each module as a stable starting point. At 300 DPI, four dots occupy about 0.013 inches, or 0.34 mm. Multiply that module size by the total module count, including the quiet zone, to find the print constraint.
For example, a denser code may clear the distance guideline but still fail the printer check when squeezed into a small label. The calculator reports both constraints and uses the larger one.
Vector artwork avoids pixel scaling problems, but it cannot fix a module that is physically too small for the printer, material, or reader. Export clean artwork, avoid resampling it in layout software, and inspect the first printed proof.
Choose error correction with the final artwork in mind
QR codes offer four error correction levels:
Scroll to see more columns.
| Level | Approximate recovery | Common use |
|---|---|---|
| L | 7% | Clean, controlled prints with no overlay |
| M | 15% | General-purpose default |
| Q | 25% | More demanding placement or a modest logo |
| H | 30% | Highest recovery, with a denser symbol tradeoff |
Higher recovery does not make every code easier to scan. It can require a larger QR version, which adds modules. If you place a logo over the code, start with Q or H, keep the logo away from the finder patterns, and test the exact exported artwork. Error correction adds resilience; it is not permission to cover as much of the code as possible.
The calculator accepts PNG, JPEG, and WebP logos up to 2 MB. It sanitizes and re-encodes the image during generation, requires Q or H error correction, and places the logo in the center at 18% of the code width with a 24% white backing. The logo is not stored, but you should still test the downloaded artwork on the final material.
US and metric measurements
Use the unit system your printer, sign maker, or venue team already uses. The calculation is the same.
- 1 inch = 25.4 mm
- 1 foot = 12 inches
- 1 meter = 100 cm
Do conversions before rounding. Switching the calculator between US and metric changes the display, not the physical recommendation.
QR code placement matters
A large code can still be frustrating in the wrong place. Nielsen Norman Group recommends giving QR codes a clear purpose and using them where another device can scan them comfortably.
Before printing, check these details:
- Put the code on a flat, steady surface with strong light-to-dark contrast.
- Avoid glare, folds, seams, busy images, and heavily curved surfaces.
- Add a short instruction that tells people what happens after the scan.
- Print a readable fallback URL for people who cannot or do not want to scan.
- Do not rely on a QR code as the only action on a page already being viewed on the same phone.
- Test from the expected distance and angle, not only from a few inches away at your desk.
Hotel and restaurant examples
Hospitality QR codes are usually scanned in imperfect conditions. A guest may be standing in a dim corridor, holding luggage, sitting under a pendant light, or trying to scan a table card that has picked up glare.
For table cards and menus, keep the code comfortably larger than the technical minimum and place it where plates, glasses, and condiment holders will not cover it. For room cards and door signs, test from standing height. For a front-desk or lobby sign, test the angle from both seated and standing positions.
If the code collects guest feedback, name that action plainly. “Share private feedback” is clearer than “Scan me.” Reviato’s private feedback demo shows the guest form that a property link can open.
If the code asks for a Google review, use the link from your Business Profile, give every guest the same code, and test it before printing. How to get your Google review link shows where to find it. Weighing an NFC tap card instead? Read what can go wrong with NFC Google review cards first.
Test before the full print run
Print one copy at final size on the real material. Do not test a larger draft on office paper and assume the reduced production version will behave the same.
Use several phones, including an older model if your audience is broad. Test bright and dim light, the expected angle, and a slightly longer distance than planned. Check that the destination loads quickly and that the printed fallback URL is correct.
If scanning feels fussy, make the code larger first. It is usually a cleaner fix than raising error correction, adding sharpening, or changing several design variables at once.
Sources and further reading
- ISO/IEC 18004:2024 QR code symbology specification
- DENSO WAVE: Point for setting the module size
- DENSO WAVE: Point for determining the code area
- Nielsen Norman Group: QR-code usability guidelines